It has been quite some time, a bit over two months(!) since I last wrote an article. But let’s stop beating ourself over it, maybe that’s how we’ll get to writing more of these. In fact an exciting update is that I’ve sort of made myself a shader curriculum, and by no way is this covering everything. But I am hoping that if I can give this enough time in a week, I can get to be more consistent with the project of learning about shaders! 🎉
This time I thought I’ll try to do something simple i.e. make a chess board to pratice using some important glsl functions like fract and step. This is going to be the smallest shader that I have written an article on thus far. But the idea is to make this into a series and make an actual chess board with all it’s pieces, and everything, using (hopefully) just shaders!
Also a last thing before we can get into it. I have changed my workflow and now instead of using glsl-canvas, I have started using glslViewer made by the amazing Patricio Gonzalez, who is also one of the writers of the book of shaders. I found that I could do much more things with glslViewer like including other glsl files and using textures, in a much simpler fashion, so I am going to stick to this. Nevertheless the current example can be done inside glsl-canvas too.
What are we waiting for?
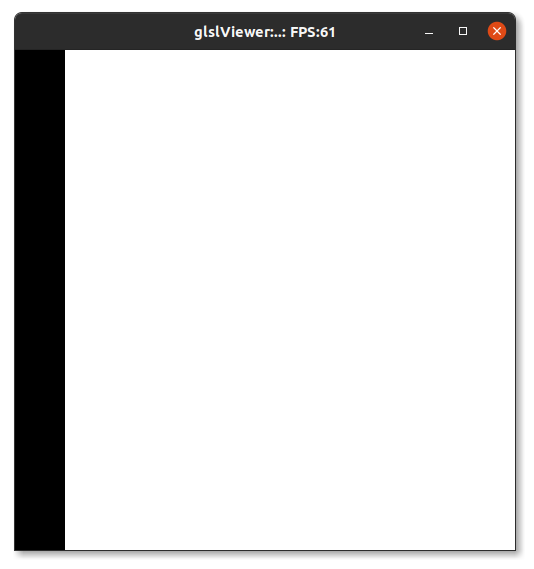
Let’s start by writing the boilerplate stuff, making our uniforms, and setting a 🔴 color to gl_FragColor to begin with.
#ifdef GL_ES
precision mediump float;
#endif

uniform vec2 u_resolution;
uniform float u_time;

void main() {
  vec2 st = gl_FragCoord.xy/u_resolution.xy;
  gl_FragColor = vec4(1.0, 0.0, 0.0, 1.0);
}
And now if we start deconstructing a chess board, it is basically made of white and black squares alternating each other in a two dimensional fashion. Since we need a bunch of these squares, we will have to expand our coordinates st, which currently is in the range 0-1 by multiplying it with some factor to convert it into 0-factor.
vec2 grid = st*5.0;We can now try to convert this into alternating black and white columns by using step
float cols = step(0.5, grid.x);This won’t look right because our space ranges from 0-factor and we’d like it to be in columns of 0-1 lined next to each other to be able to use step
Behold fract 👇
float cols = step(0.5, fract(grid.x));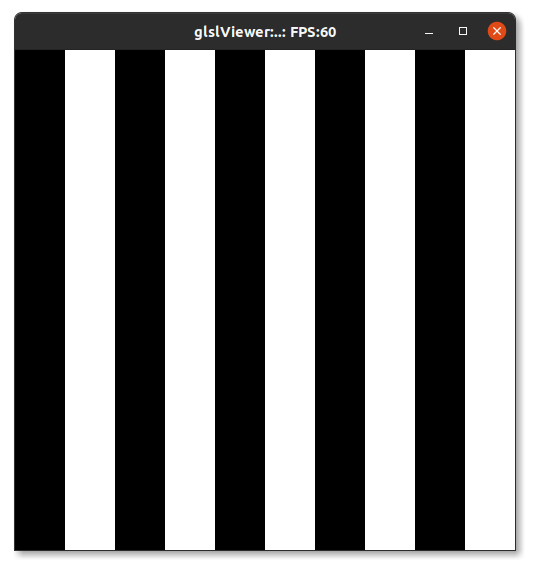
Now we figure we just need to repeat this process for rows and we’ve got it right?
void main() {
  vec2 st = gl_FragCoord.xy/u_resolution.xy;
  vec2 grid = st*5.0;
  float cols = step(0.5, fract(grid.x));
  float rows = step(0.5, fract(grid.y));

  vec3 board = vec3(rows+cols);
  gl_FragColor = vec4(board, 1.0);
}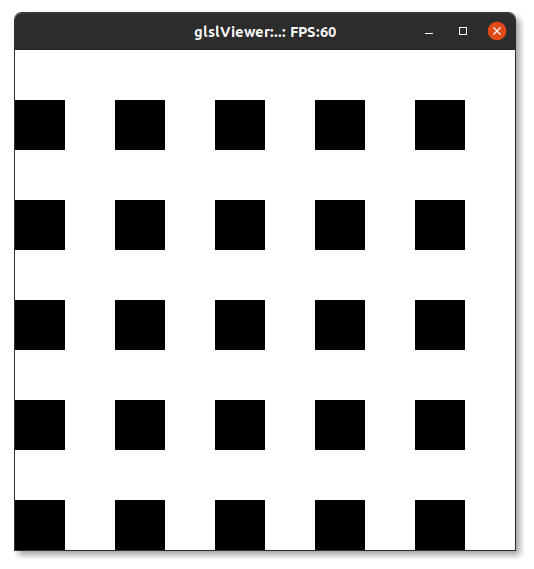
Of course it could not be this simple, now could it. If you play with the rows and cols and see what is in them individually, you’ll realise that they don’t line up in the way we want them. And so multiplying rows and cols also does not help.
I tried a few combinations of these but since they didn’t work (maybe there are some I didn’t think of, so let me know if you do!) I thought of trying to modify cols such that alternate rows have it shifted a bit.
float rows = step(0.5, fract(grid.y)) == 0.0 ? 0.2 : 0.0;
float cols = step(0.5, fract(grid.x + rows));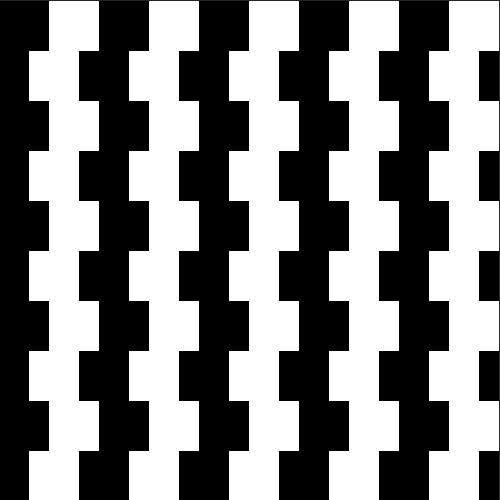
To break this down a bit, the first line uses a ternary operator which is a shortform for an if statement or a way for us to make a decision based on outcome of a condition. We could also rewrite it as
float rows = 0.0;
if(step(0.5, fract(grid.y)) != 0.0) {
  rows = 0.2;
}
So each alernate row seems to be shifting to the left by 0.2 because we have incorporated this value into constructing our columns by modifying it’s coordinate system. You can play with this by manually changing the value of rows and adding it to grid.x and seeing what that does.
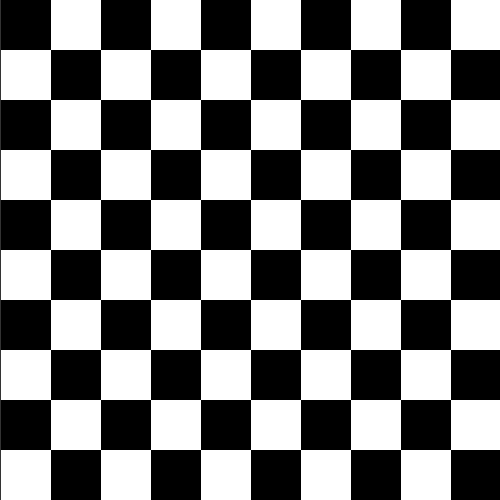
And tada 🎉, by changing 0.2 to 0.5, we have our chess board!
There is a whole bunch to explore with these patterns, so please change values wherever you like and make new ones 🎨 Hoping to come back soon with chess pieces(or start simpler, go pieces xD)
Until then <insert Bob Ross saying god bless my friends>